
Today we have a great tutorial for these fun silhouette Love Struck pillows. Aren’t they so cute and perfect for Valentine’s Day? I asked Ellie from Homestitched to share them with us today. Thanks Ellie!

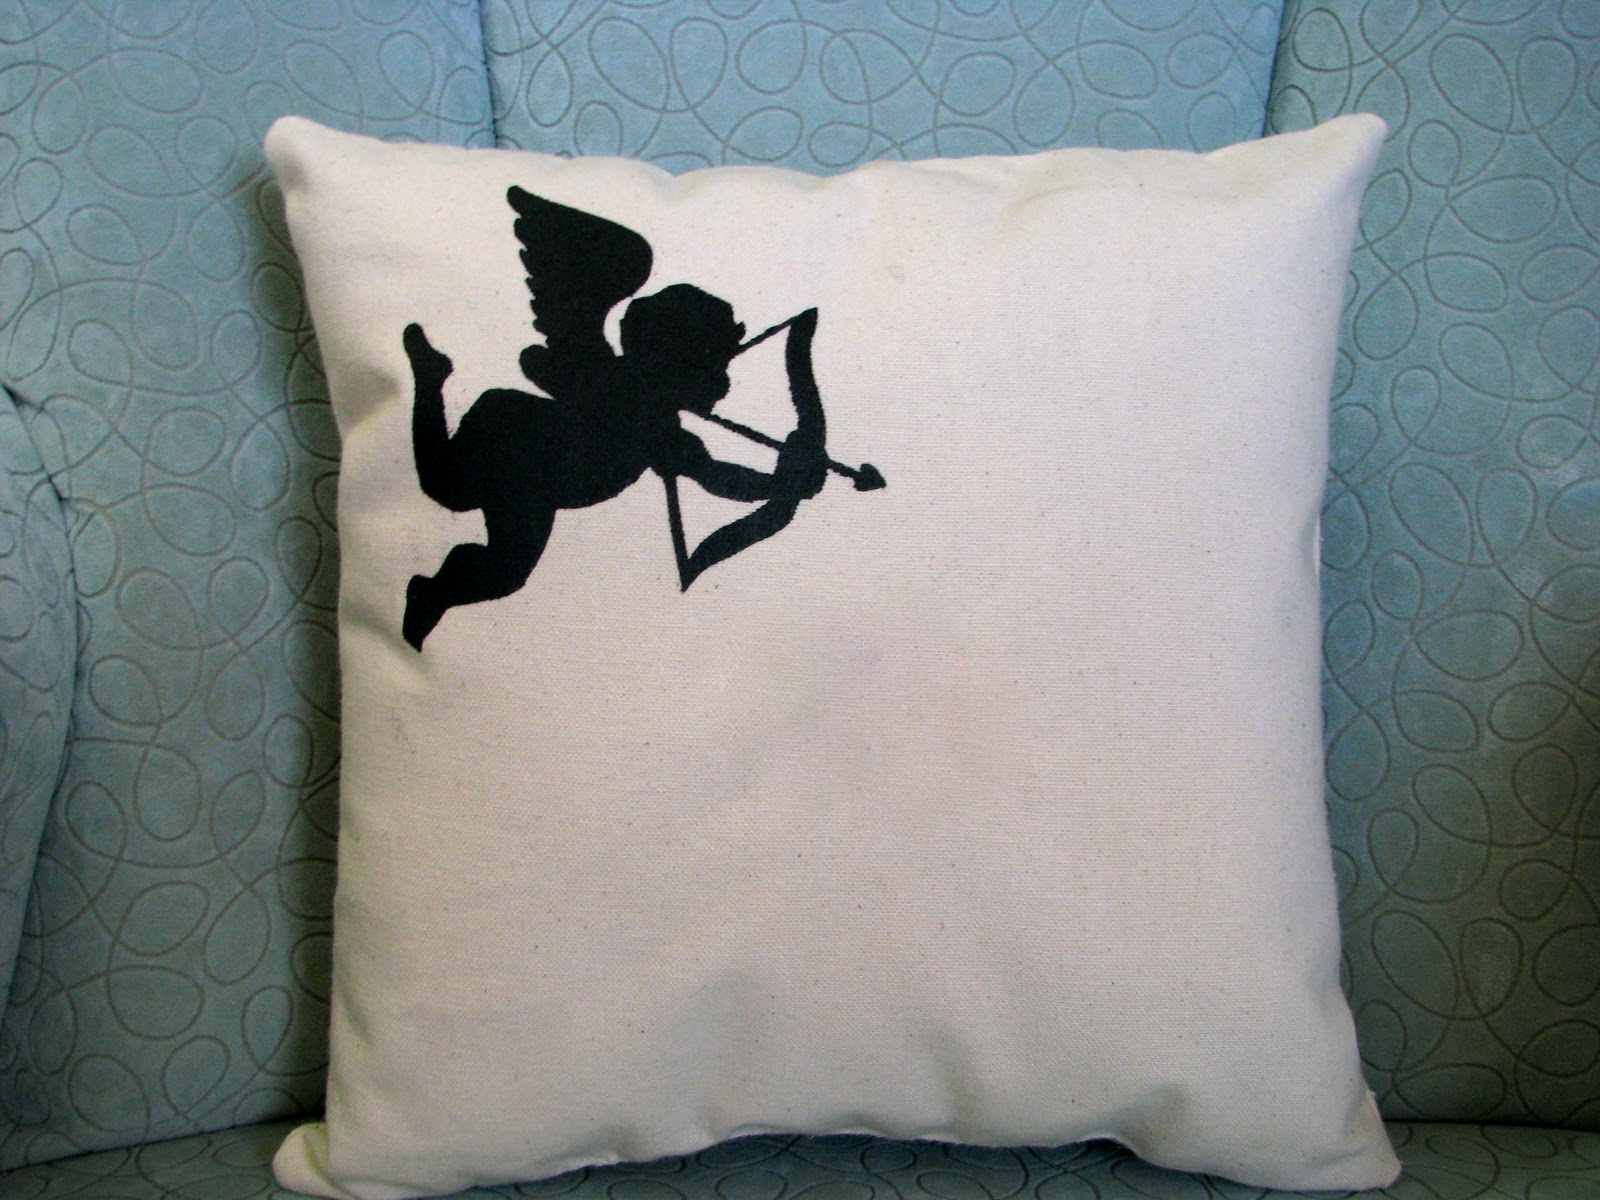


I live in an apartment (a product of the husband being in grad school) and the Valentines decor is somewhat lacking. The husband isn't too fond of themed decor. I'm slowly converting him. Very slowly. So I thought these pillows were a nice, not too over the top, compromise.
Plus, I finished them rather quickly which is always a huge plus in my book.
Materials:
-Fiber Fill (whatever kind you liked best)
-1/2 yard of your choice of fabric for the pillows (I used duck canvas)
-black fabric paint
-paint brush
-freezer paper
-Picture of you and your love (you could also use clip-art)
-Cupid print out (I found mine online for free)
-Cardboard square (small)
*I realized about half way through how easy this would be if I only had a Silhouette. Oh how I want one of you. I'm sure you could find a cupid in their online store or import one of your own. But it is still a quick project even without, so lets move forward.
Construction:
1. Cut. Cut fabric into 4 squares 13 x 13.
2. Sew. Take two pieces of fabric. With right sides together, sew around all four edges with a 3/8 inch seam leaving about a 5" gap along one edge for stuffing. Repeat for other two squares.

3. Trace. Take your images and tape to cutting board. Place freezer paper over the top of image shiny side down. Trace with an exacto knife to cut image out on freezer paper. You will end up saving the outline not the actually cut out image, so don't throw away the scraps (I used Made's directions for the freezer paper stencil. Go here if you need more help). Repeat with second image.

**You want to keep everything on the left side of the photo...you do not need the piece on the right.
4. Iron. Place your freezer paper stencil onto your canvas exactly where you want your image to show up. Iron down stencil. Be sure to get the edges really well so that paint doesn't seep through to unwanted areas.

5. Paint. Take a small piece of cardboard and stuff through hole. Using your brush, paint a few coats over the freezer paper directly onto the canvas.

**Stain remover takes away any unwanted paint from canvas that may or may not have gotten there during painting. Or so I've heard.

6. Let dry and seal with iron.
7. Stuff. Fill pillow with fiber fill or stuffing of your choice.
8. Hand sew pillow closed. I used a whip stitch to close off the pillow. I started the knot inside the seam and then did some close together stitching around the seam to close the gap.


Aren’t those pillows so awesome? I love them! I would love to make one for our master bedroom. What a clever idea. Thanks so much for letting me share them here Ellie! If you liked these projects, be sure to check out Ellie’s blog…Homestitched where you can find a lot more fun projects like the following….


Very cute! Great idea for "guy-friendly" decorating!
ReplyDeleteAngela
bingecrafter.blogspot.com
What cute pillows! Great idea!
ReplyDelete